Preserve Your Memories
My Journey on Digitising VHS and Other Analog Formats!


It was after the pandemic hit, that one fine day I decided to go through all the boxes my parents had stashed in the attic. And it's just crazy how stacks of tapes, negatives were neatly sealed and kept after all these years. Hats off to my parent for storing them well, but no matter how hard you try, they inevitably degrade with time.
I wanted to make sure that nothing was left behind, which is why I started by taking inventory of the formats at hand. This helped me narrow down the hardware required to rip the data and digitise it. Once digitised, there's a lot that can be done to patch or upscale it. I was keen on making a remix!
I hope you find this useful. If you have any questions or comments, feel free to contact me!
Taking Inventory
or lose track!
Here's what I found in neatly sealed cardboard boxes:
- VHS Tapes
- Film Negatives
- Hi8 - HandyCam Tapes
- CDs
Unlike images which are mostly static in nature (duh!), videos in the pre digital era had different formats. Its important to note that every region had its own standard for video. Standards like NTSC, PAL, and SECAM sound like they are cross compatible, but are worlds apart! My parents bought the camera and tapes from north america, and settled back here in India. Interlaced videos are alright, just got to deinterlace in post processing to remove the line-like movement on the screen. Modern TVs handle automatically switch between the formats to playback the content decently if not perfect.
Fornutanely, my parents saved the actual HandyCam that took the videos and it still works! It even holds charge and was able to playback the Hi8 tapes, it uses them to store the video and audio data.
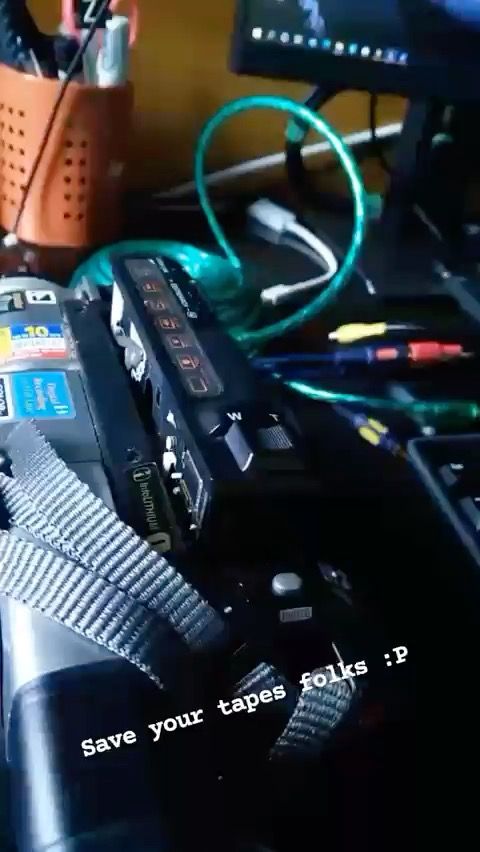
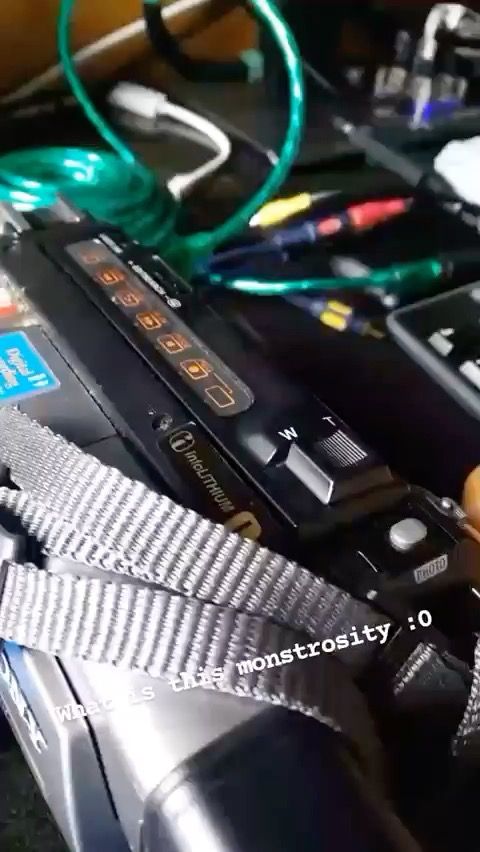

Although it was an NTSC based system, I had a good idea on how I would record it. Initially, I bought an RCA capture card. The plan was to drop the tape into the HandyCam, hit play and record the playback from the RCA out. This worked in theory, but in reality, there was an unacceptable level of noise in the video and audio.
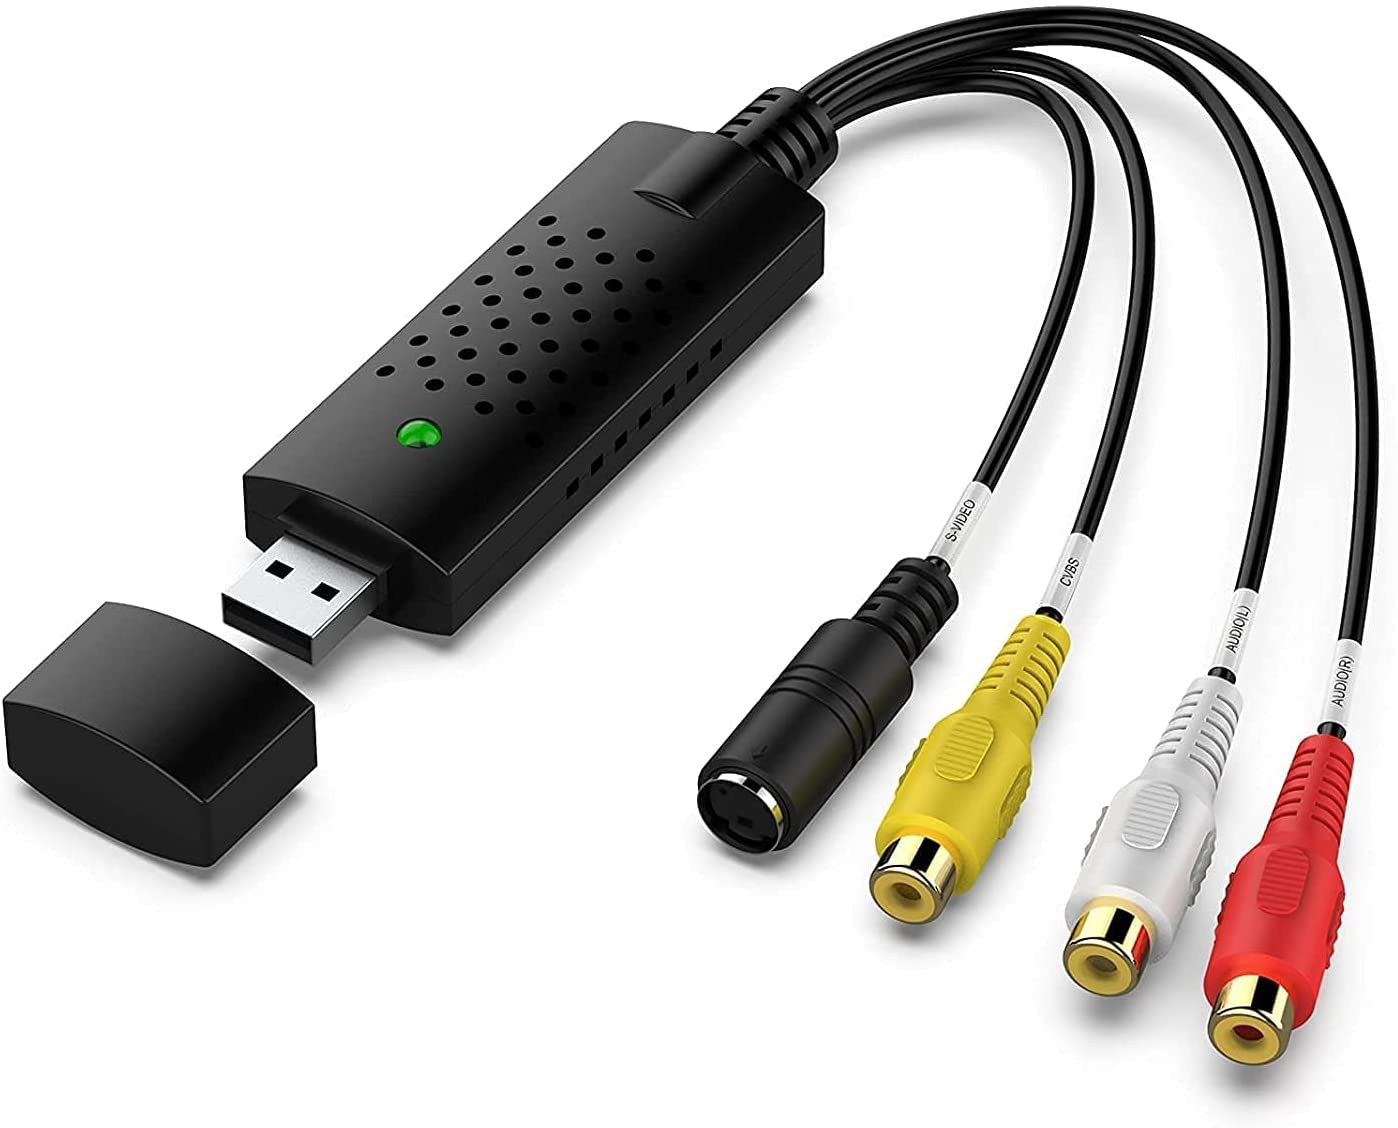

The idea of using my home theatre's receiver hit me. The RCA out of the HandyCam would be fed into the receiver as input, which had an HDMI output to a television. It was time to get an HDMI capture card. This produced a clean output, free of noise. The only problem was it took the 4:3 aspect SD video out from the HandyCam and produced a 16:9 wide aspect HD video, which meant I had to fix it in post. No biggie!
VHS Players are hard to come by, especially NTSC players in a PAL country. Most photography houses treasure them to provide it out as a service. Turns out my good friend and neighbour, Abhishek had a VHS player that could play both NTSC and PAL with a flip of a switch. So rare, but hooray!
Applied the same principal as with the HandyCam.
Analog Player (RCA out) => Receiver (HDMI Out) => Capture card.
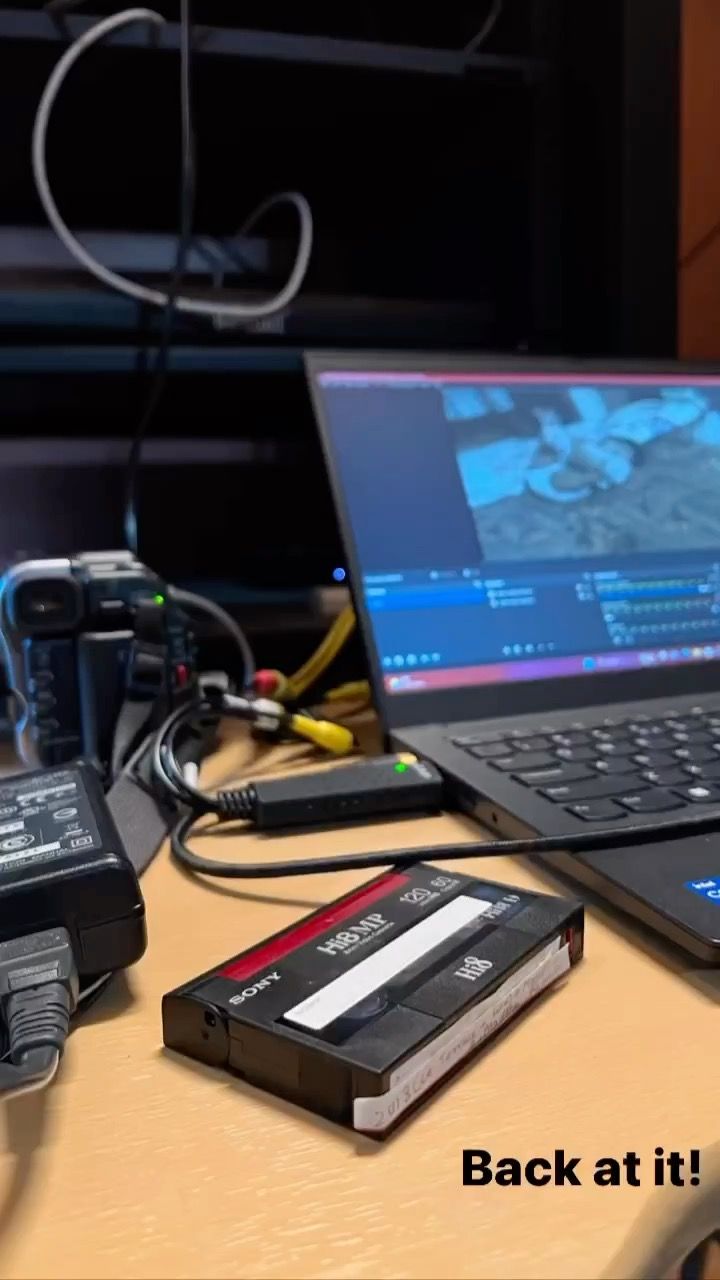
All I had to do now was let the tapes play from start to finish, while the capture card with OBS studio on my computer would record it completely. OBS is an amazing open source software that allows you to do alot with the respect to video and audio streams.
For the CDs, I just used VLC player to rip them to MP4 files.
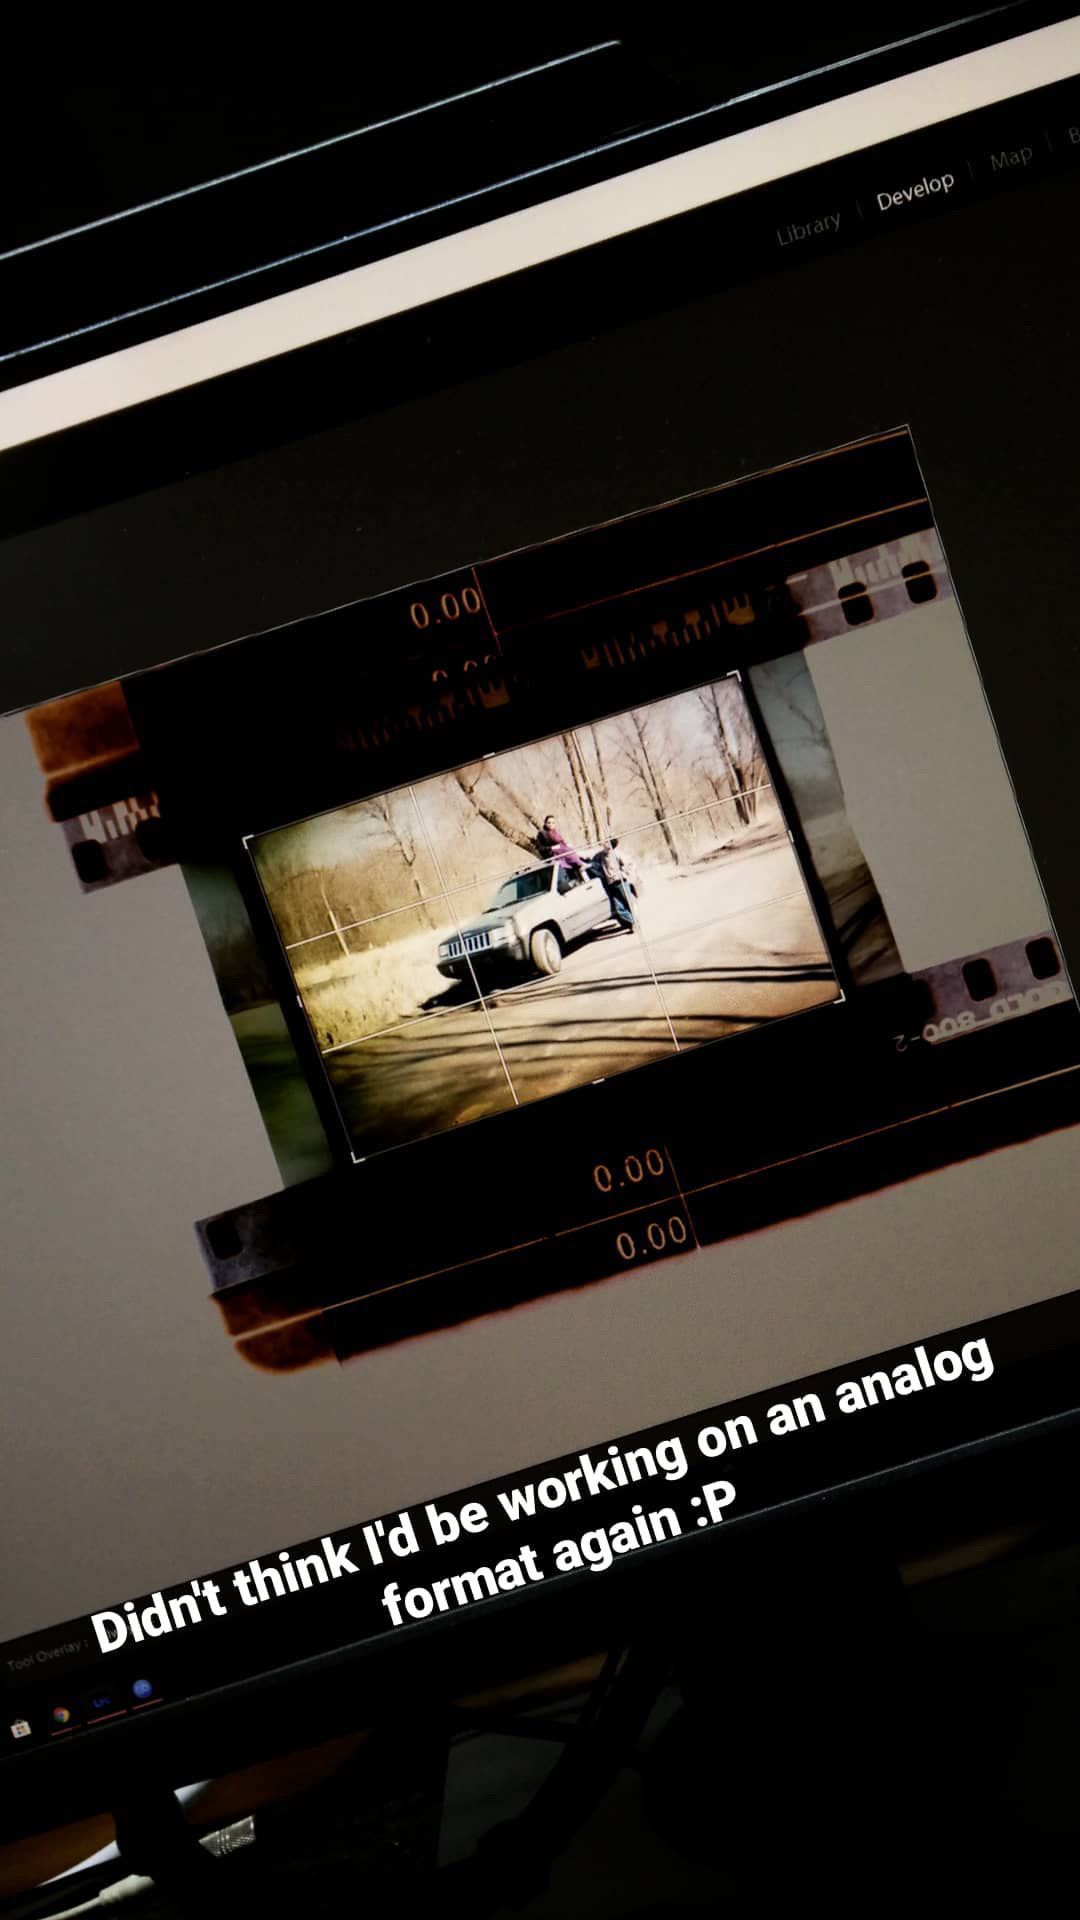
Now the last challeging piece was converting negatives. I wanted high resolution grabs though. So I used a cardboard box to create my own backlight. This cardboard backlight had a cutout lined with wax paper, that acted as a diffuser. For the light source I used an LED bulb.
That turned out it be a crude solution, it worked but I wanted better. So, I invested in a scanner to scan all the negatives and then use DxO Photolab (I prefer that over Adobe Photoshop).
Inverting the colours provided my digitised photos!
Basic Formula
Apply it anywhere!
