Home Security
Putting together a system for home surveillance and security.


I love working on DIY projects. Just like other posts on this site, here's one dealing with home security. I'm mostly talking about a door lock and video surveillance. I do have a security system, but this post isn't about that!
For the last 6 years, I was using an optical fingerprint scanner and Bluetooth as a fallback to unlock my door. This was one of those nice to have comforts, I did not have to carry my keys and could walk out knowing there was a r̶e̶l̶i̶a̶b̶l̶e̶ system in place. That was until last week, where it decided to go poof. It had its flaws but now was the time to replace it with an over engineered system.

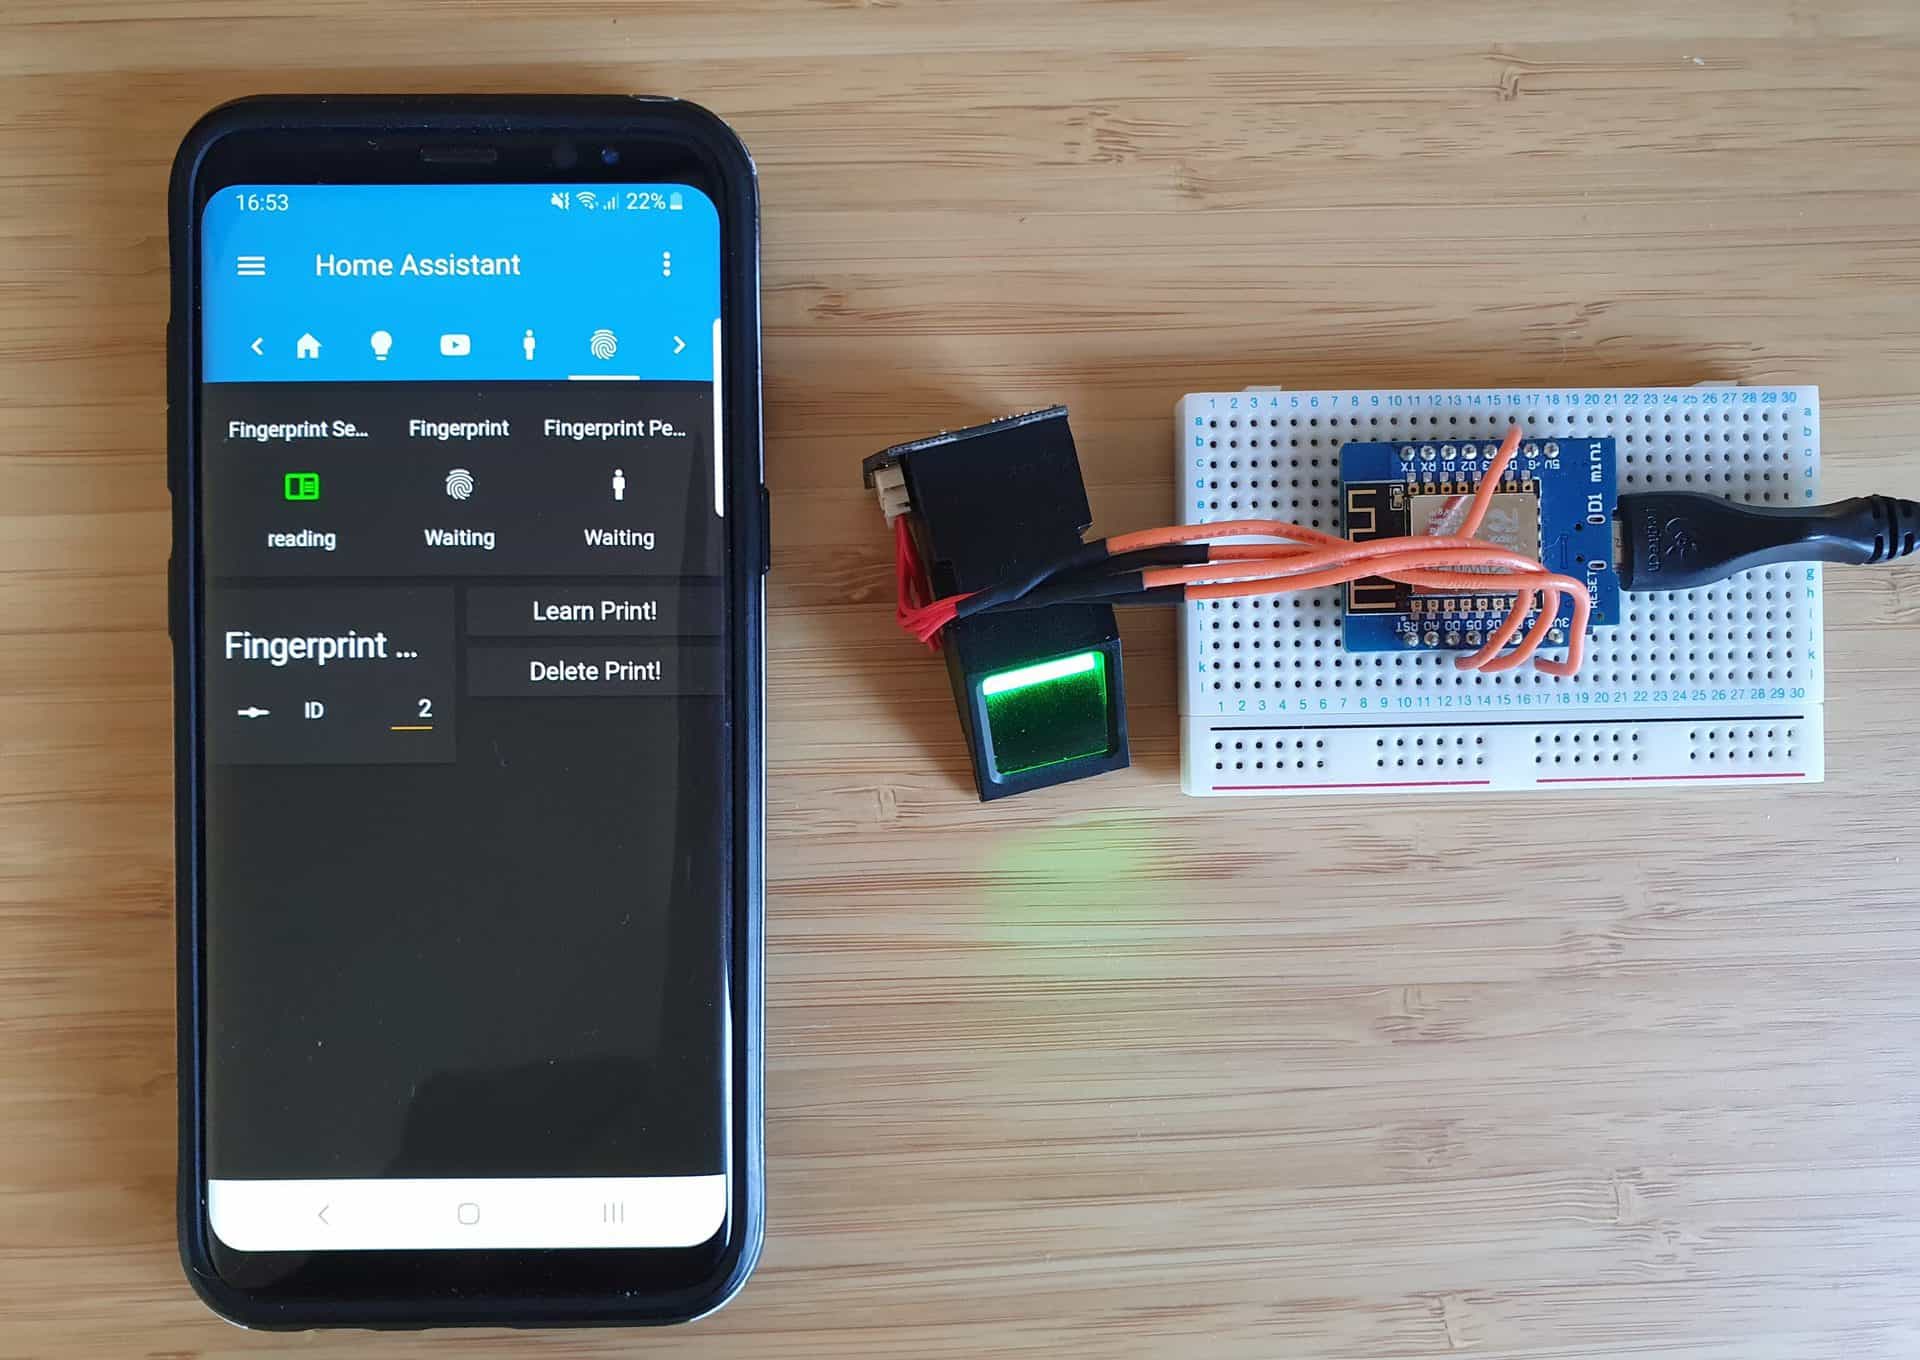
The optical fingerprint sensor [GT-511c3] did not do well with worn out fingers. My parents hated it and refused to leave the keys at home. Capacitive fingerprint sensors were the way to go. So, I set out to find one that was compatible with Home Assistant via ESPhome. Thats where I landed with the R503. The R503 from Grow has an optional daughterboard K202, that packs the logic for enrolling, scanning fingerprints and activating the on-board relay. I could have stopped here as this was mostly a complete package that did everything I asked for.
Enroll Fingerprints, Scan to match and activate relay. The relay would modulate an electromagnet inside the door lock.
But convenience was at the top of my list. Can't open up the system and click some buttons every time I wanted to do maintenance. That was where I yeeted the K202 board and connected the scanner to a compact ESP32c3.
Credit where credit is due:
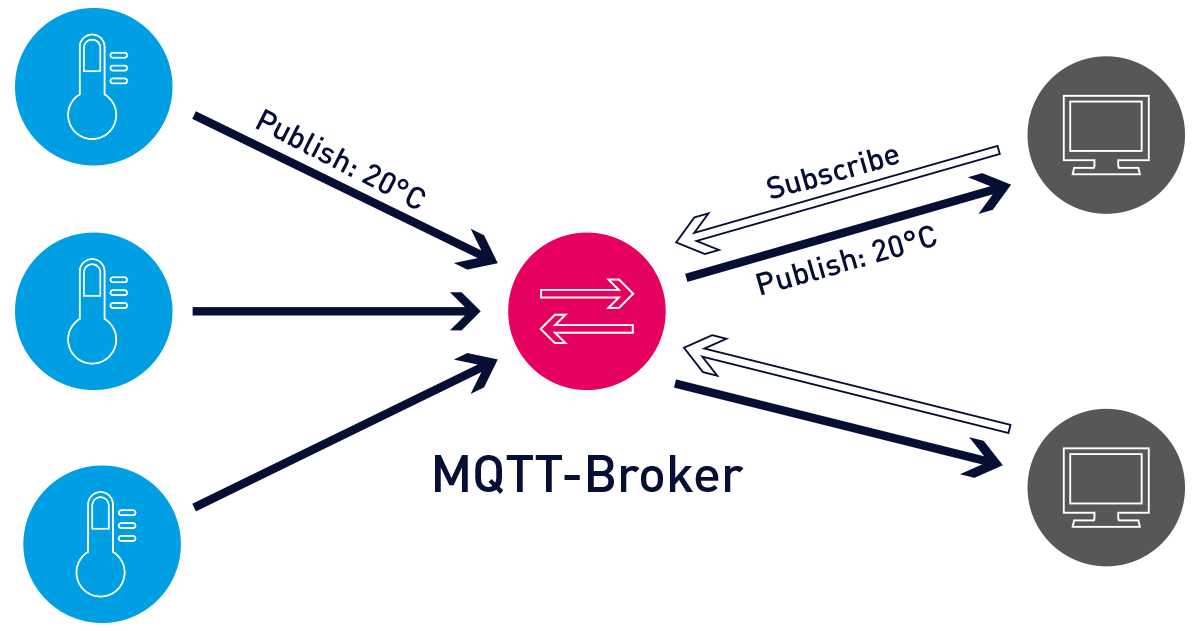
Although Lewis used an optical scanner, I was keen on adapting it for a capacitive scanner as the key library supported both. This setup used Home Assistant with an MQTT broker to talk to the microcontroller system! Skipping ESPhome entirely.
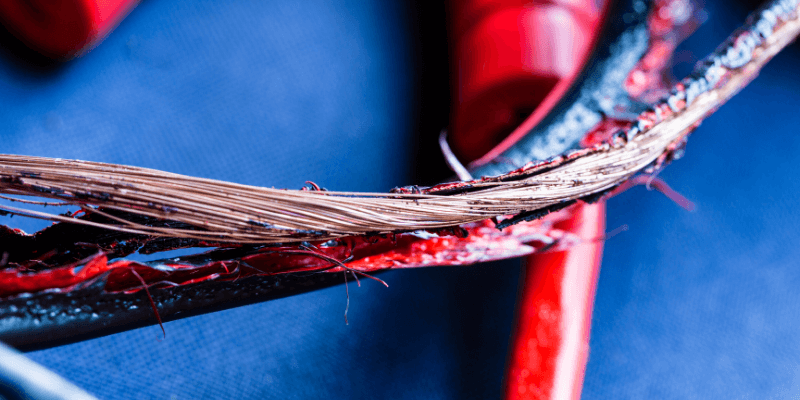
Silicone Wires! That's another amazing invention. I've always used PVC based wired. PVC isn't heat resistant, it will burn and turn black when soldering or adding heat shrink tubing. Silicone wires just breeze through heat. That was the choice of wire this time around.
In an effort to minimize the circuit footprint while keeping the same connectivity options as usual, I settled with an ESP32 based board. It was only a matter of finding the smallest one. DF-Robot's Beetle c3 and M5's Stamp c3 went neck to neck. I bought both to try out and found the M5 easier to use. The Beetle's support is a bit lacking, I ended up locking the board in CDC mode. Need to figure out how to undo that.
Back to the M5 with a nice 3D printed top cover! Uploaded the sketch from Lewis' repo, noticed things did not work at first. With a little more debugging and digging, corrected some functions and voila!
Hardware serial instead of software, the use of compatible functions and enabling the LED ring light to indicate error messages by timing the blinks. Definitely called for a pull request. Will make a post about that soon.
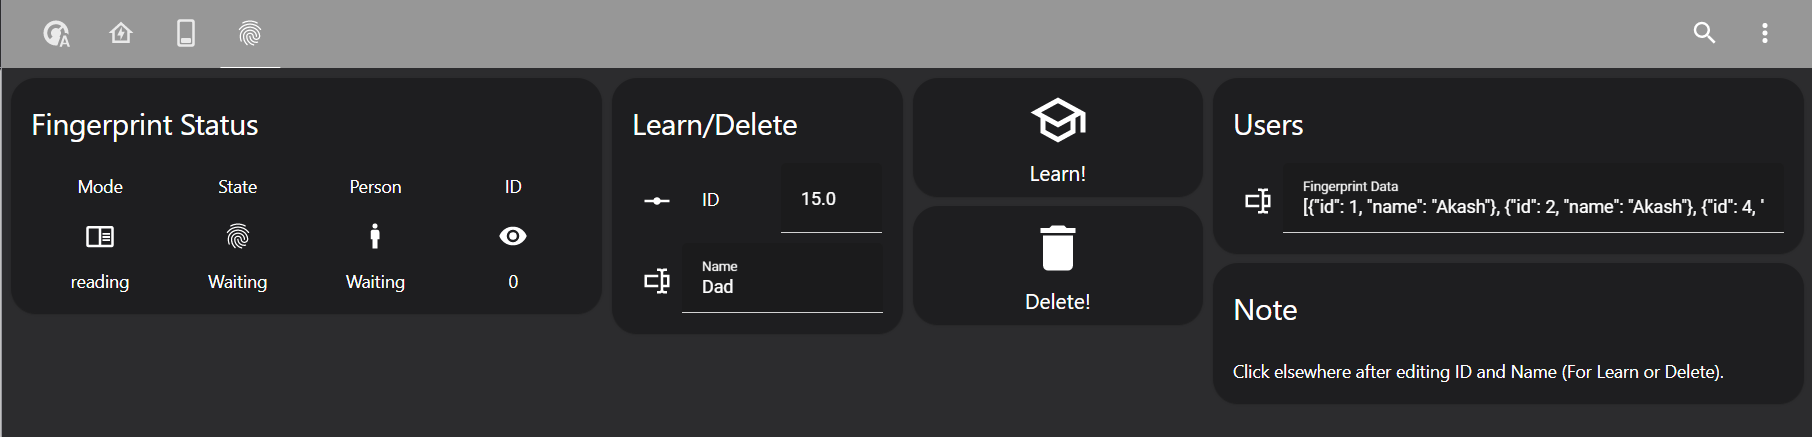
Home assistant communicates with the system via MQTT, messages are published, and functions are called based off of it.
The ESP32 microcontroller can handle WiFi Channel changes and MQTT reconnection, provided its coded right. About a day into having the system up, I noticed the microcontroller would lock up at random. I could not have a serial monitor hooked up to it at all times to debug this. After giving it some thought and trying to reproduce the error by messing with my WiFi Access Points, I had a reproducible bug. It was time to implement a WiFi reconnection strategy. In case of WiFi failure, what would the system do?
WatchDog, an enforcer that will reboot the microcontroller if conditions are met. It was the easiest approach, having added 5 lines of code. If WiFi lost, reboot and try to reconnect again. The premise was that WiFi would be available at all times, as my smart home would have bigger issues if WiFi was down.
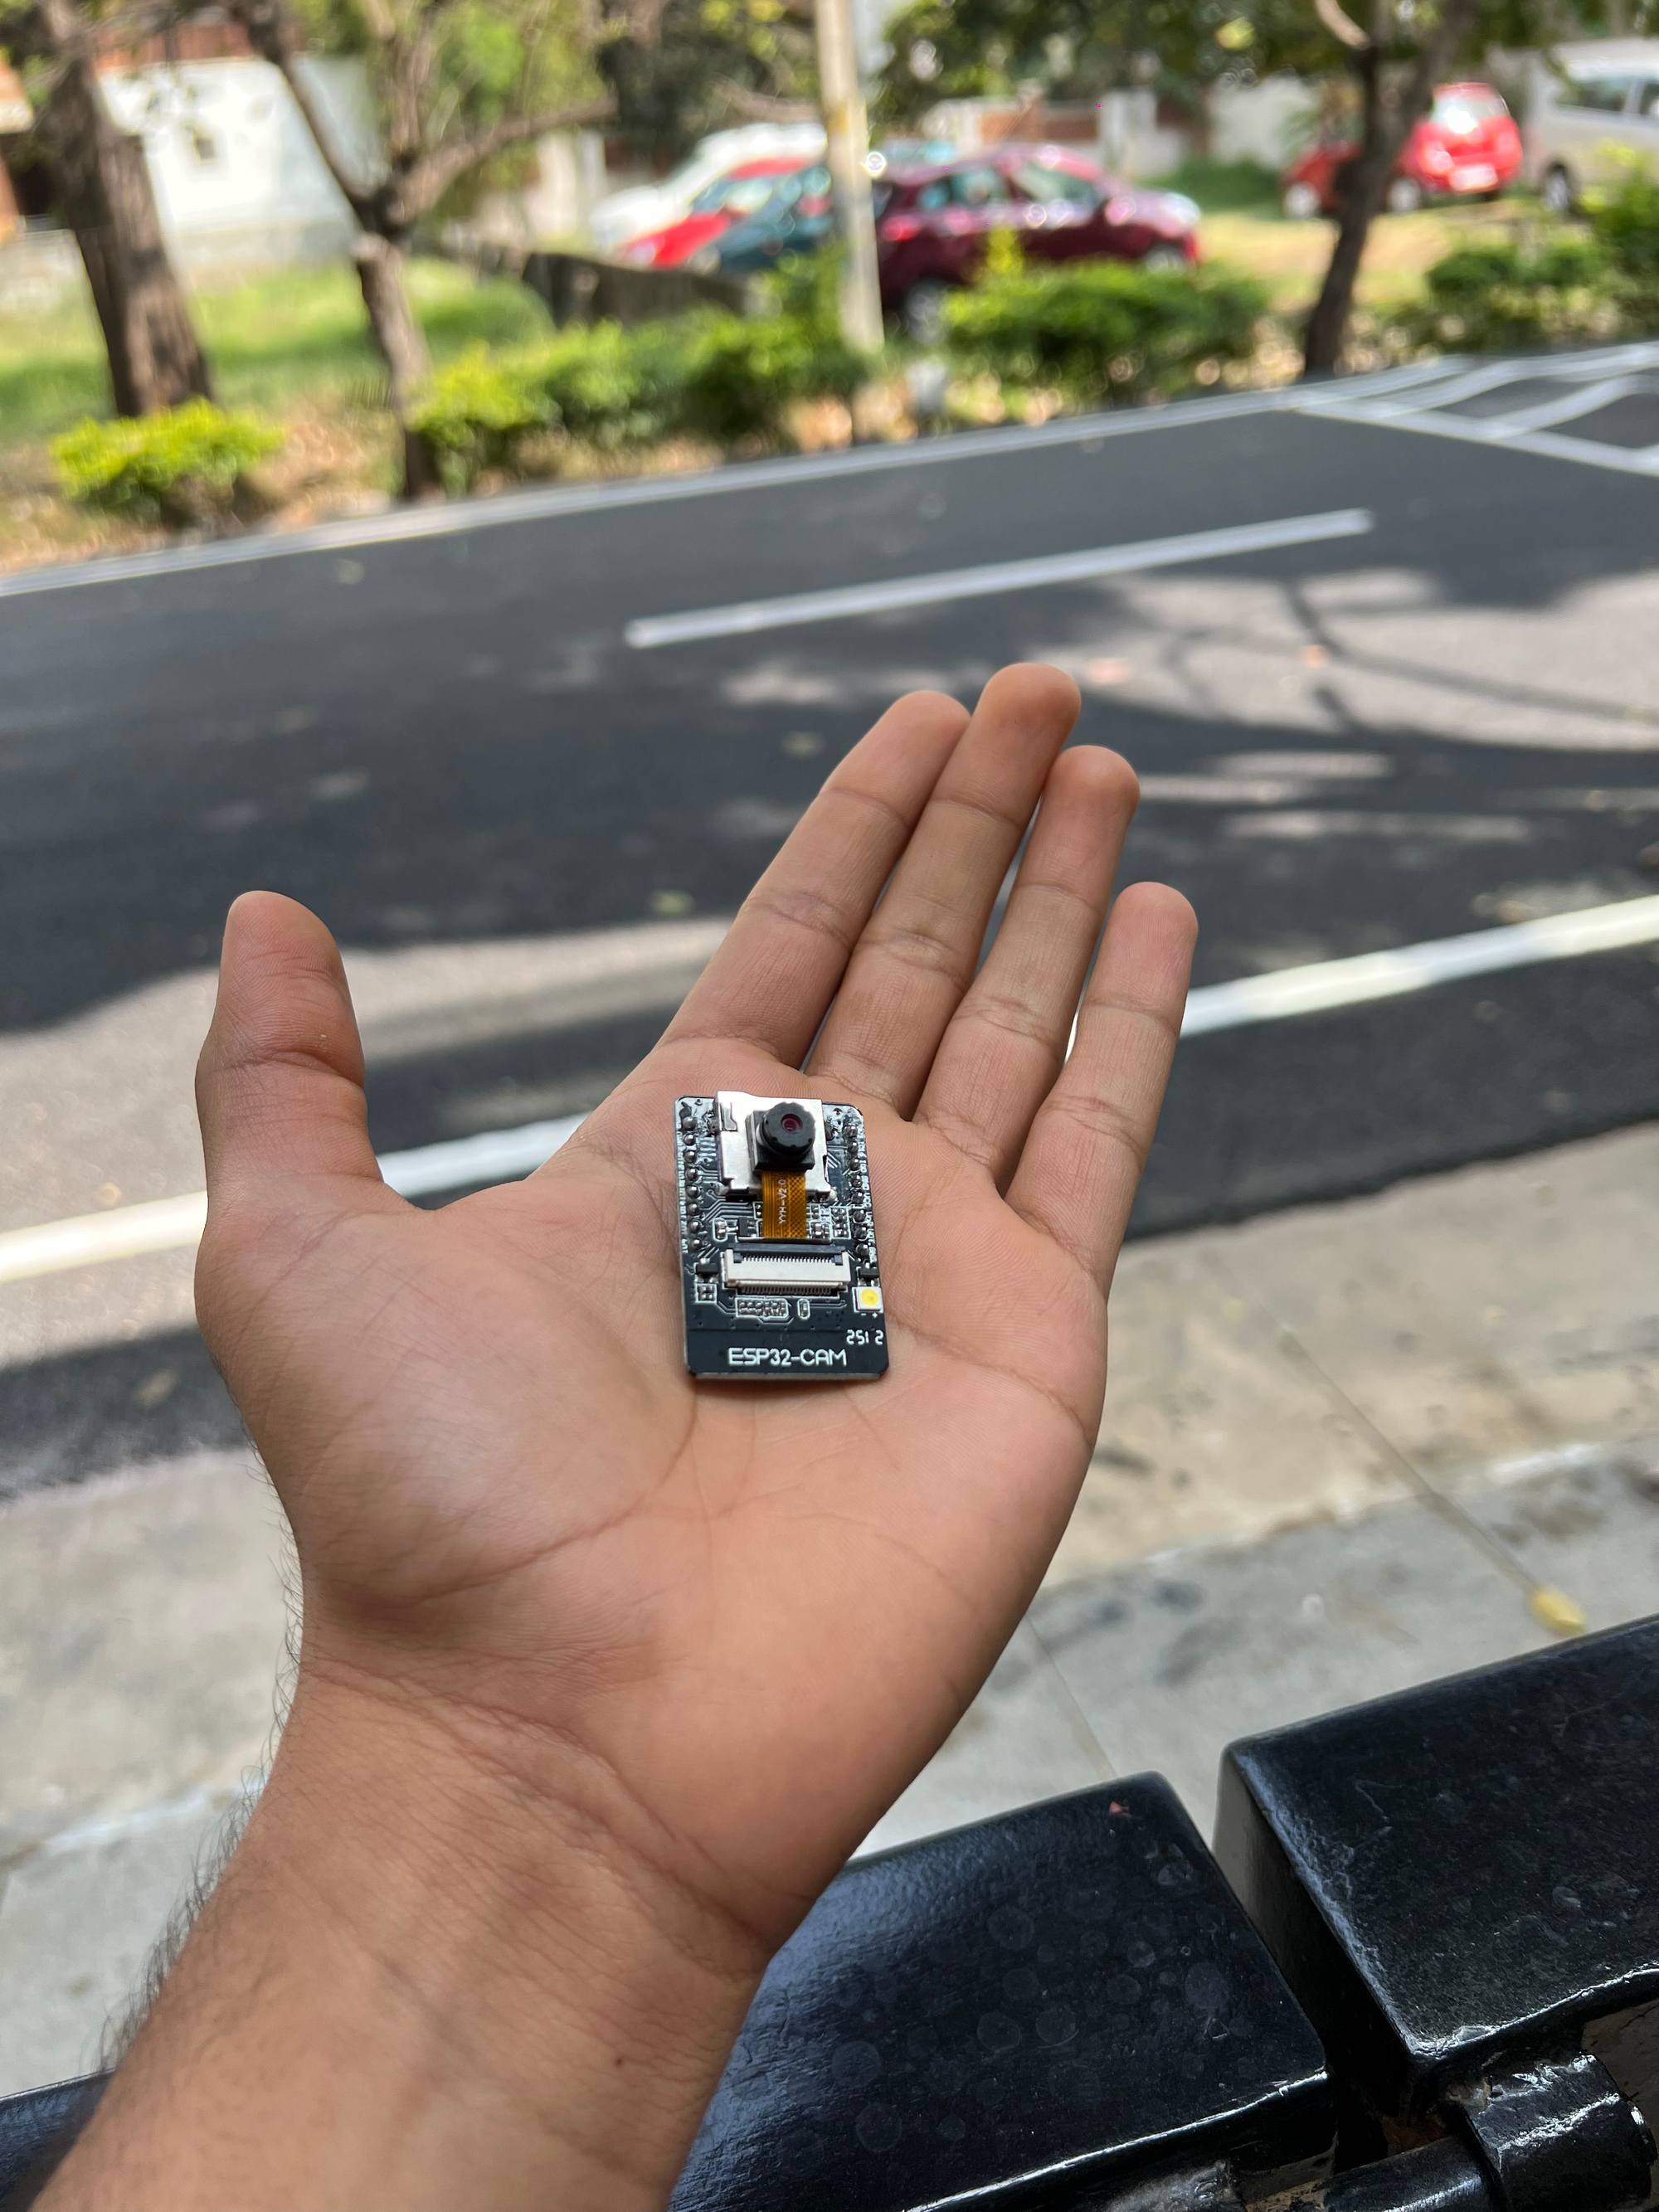
ESP32 Camera
The plan is to deploy a set of cheap ESP32-CAMs to record to sd card and setup a simple webserver from the microcontroller to stream the camera feed. Home assistant would then be able to capture this feed for viewing and dumping to secure storage.
Update (31 Dec 2022): It took a while for the microcontroller to come back in stock. I had back ordered them, but the delay allowed me to research some more and come up with a better stack.
The streaming protocol for networked cameras being RTSP meant that I was not limited to using microcontroller boards with camera modules. Any third party CCTV camera with ONVIF / Streaming would do the trick.
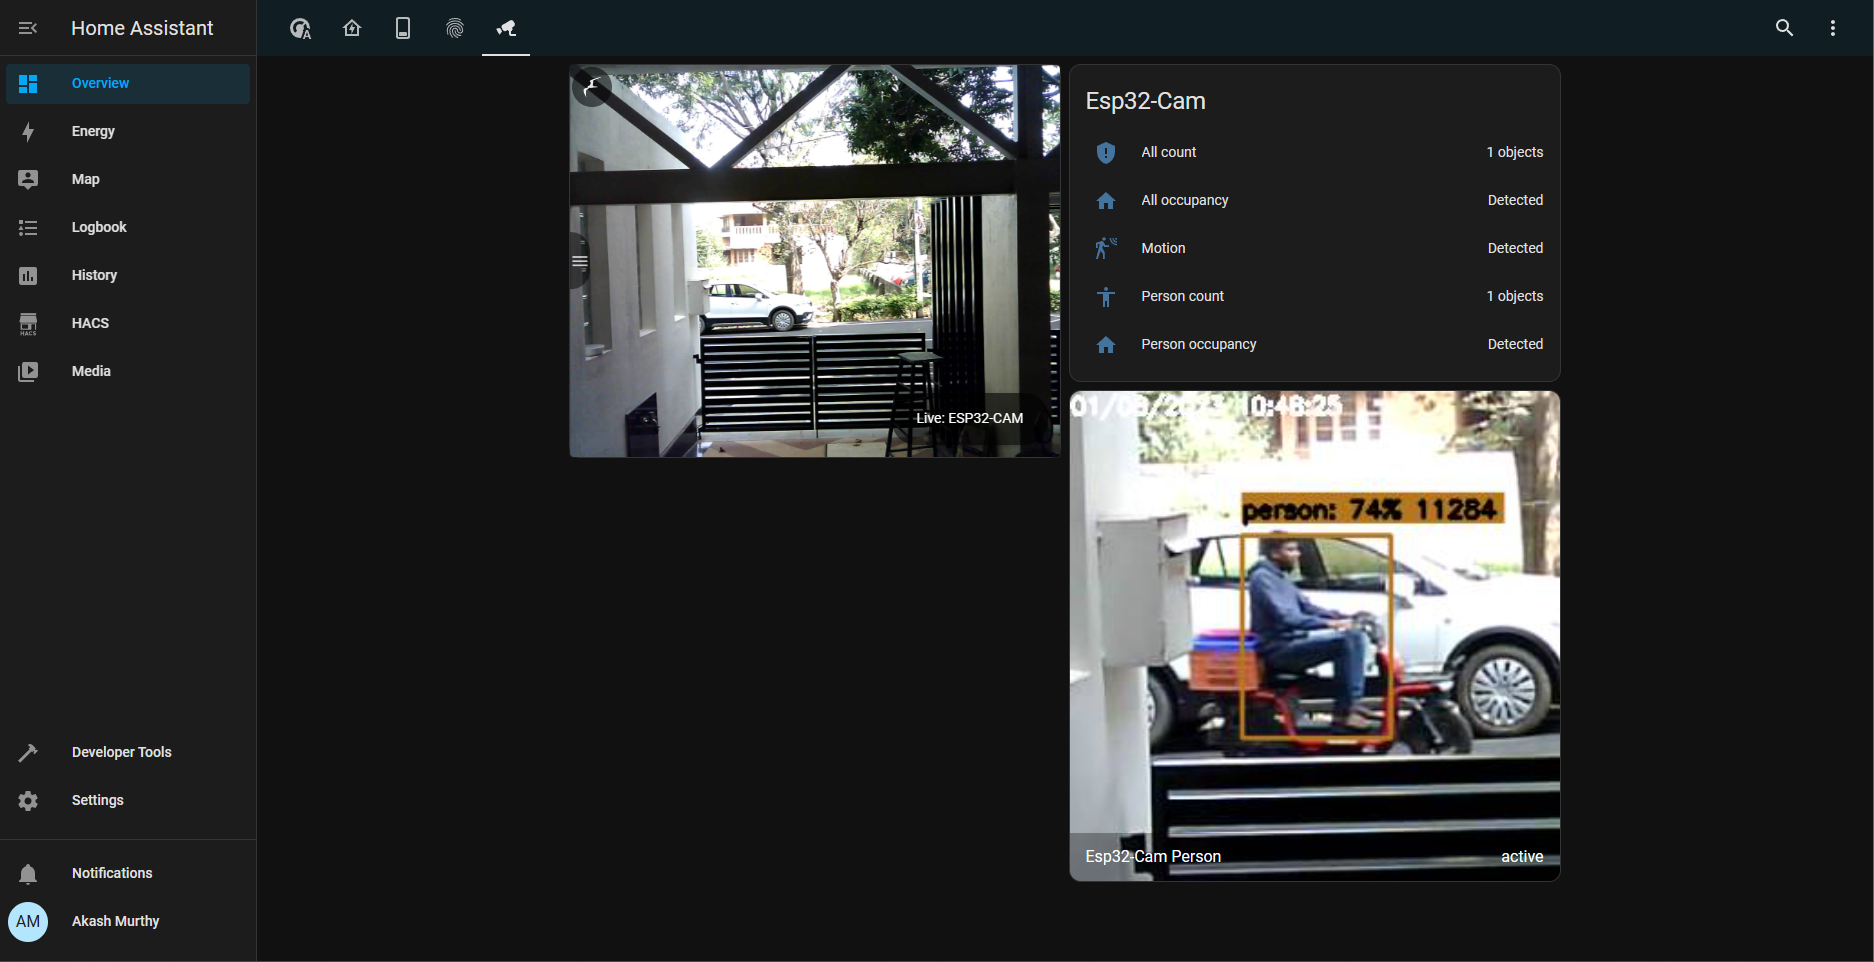
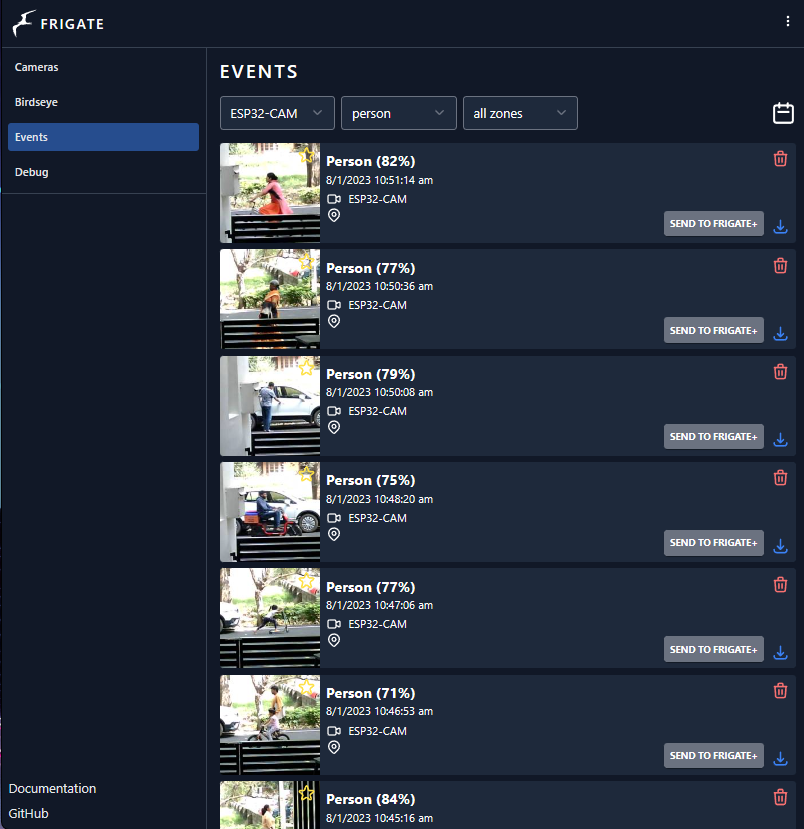
With that out of the way, the NVR platform was remaining. Frigate in a docker container allows me to record and carry out object detection using trained models. My Raspberry Pi isn't powerful enough to run these models. Hence, an upgrade to a Tiny PC was required. Enter the micro optiplex, x86 based and with the help of intel quicksync transcoding videos shouldn't be hassle. Integrating Frigate with Home Assistant gives me the ability to view and receive notifications of people, pets or any object set to be detected.
My cameras should arrive by the weekend. Will drop an update with progress.
Side note, I also created a couple of pull requests on Lewis' repository to update the code as certain functions were deprecated.
Update (08 Jan 2023): We have results!
I'll be adding a couple more ESP-32 cameras around the house, now that this concept works really well. This microcontroller and camera combo is the ideal size, I have enabled OTA updates via the Arduino IDE. This means I can update code on the fly over WiFi.
Update (13 Aug 2023): Frigate has updated their code and documentation to support object detection on various GPUs through OpenVINO. This method is much faster than using CPUs and does not require the use of a dedicated TPU like the Google Coral Platform.
Moving from CPU detectors to OpenVINO (Device: Auto) yeilded a significant improvement. Inferencing speeds went from 75-129ms on CPU to 10-12ms on OpenVINO. I am yet to accertain the accuracy of this new method and provided model.
Suport for Intel iGPU, AMD Radeon and Nvidia GPUs is open. I will be putting together a new server with a dedicated GPU to test this out.